Skip to content
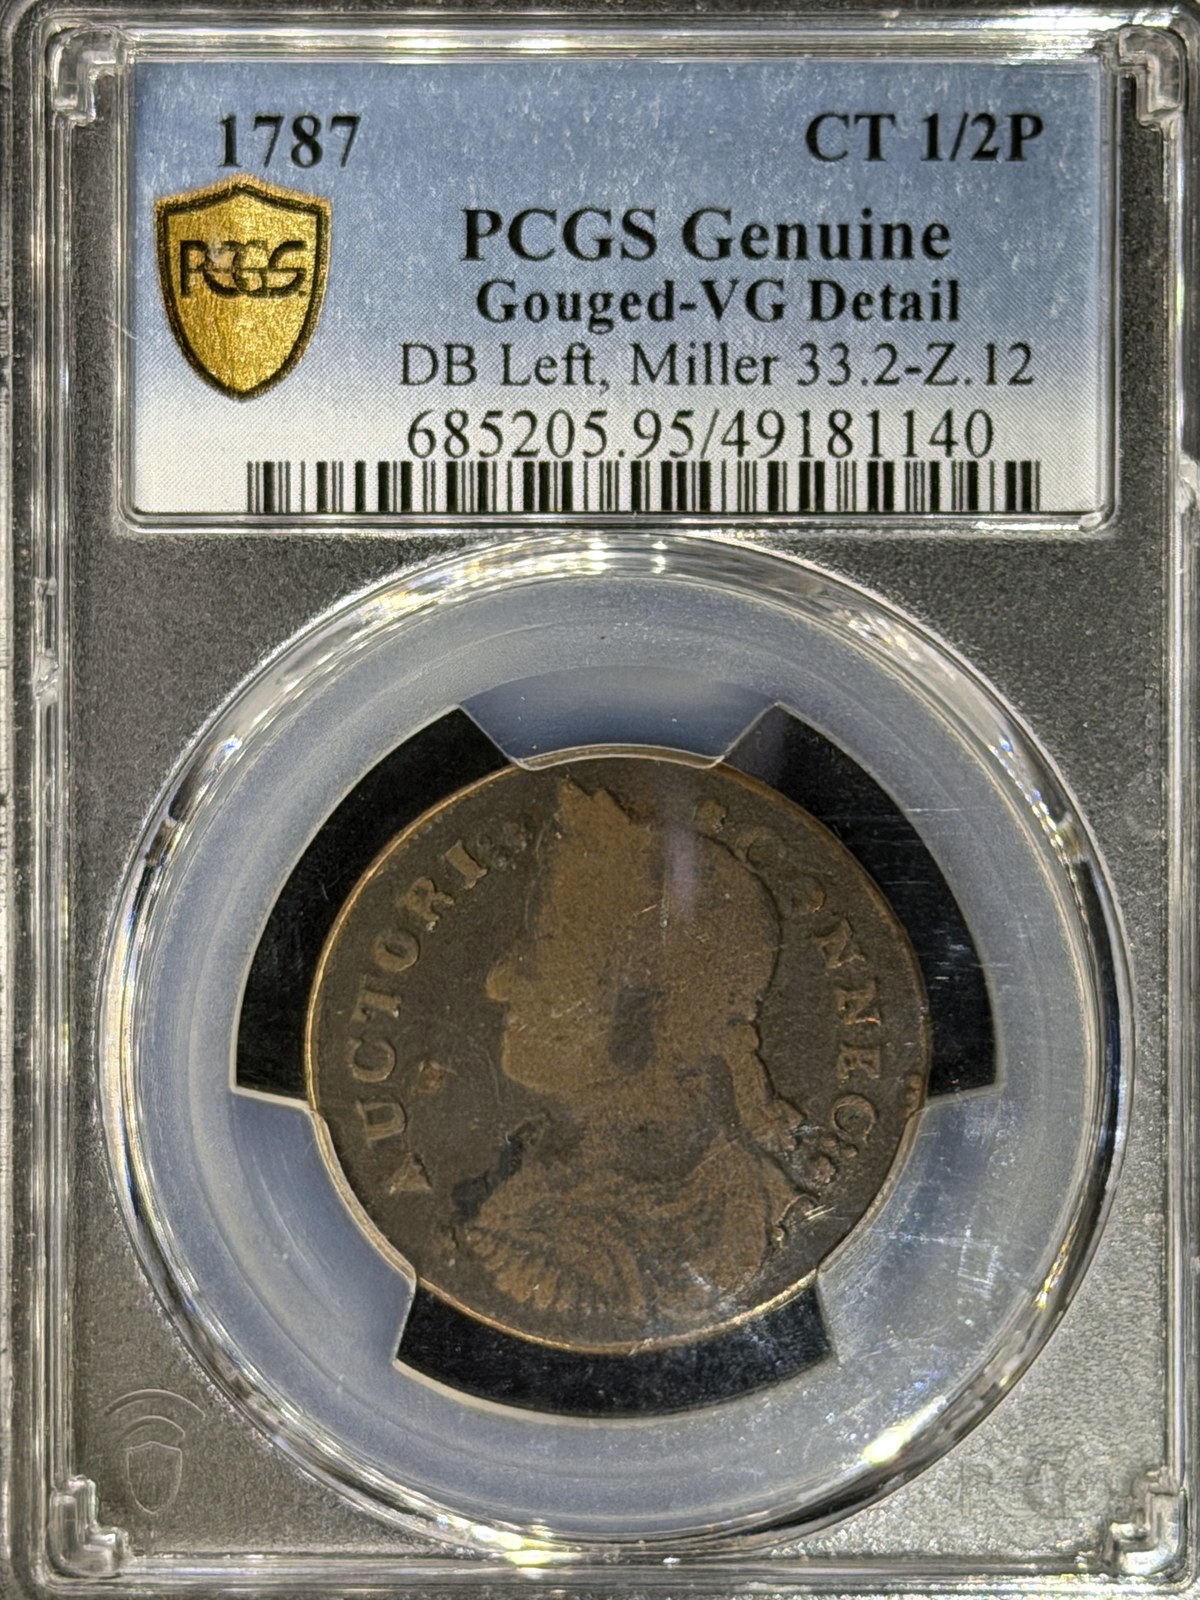
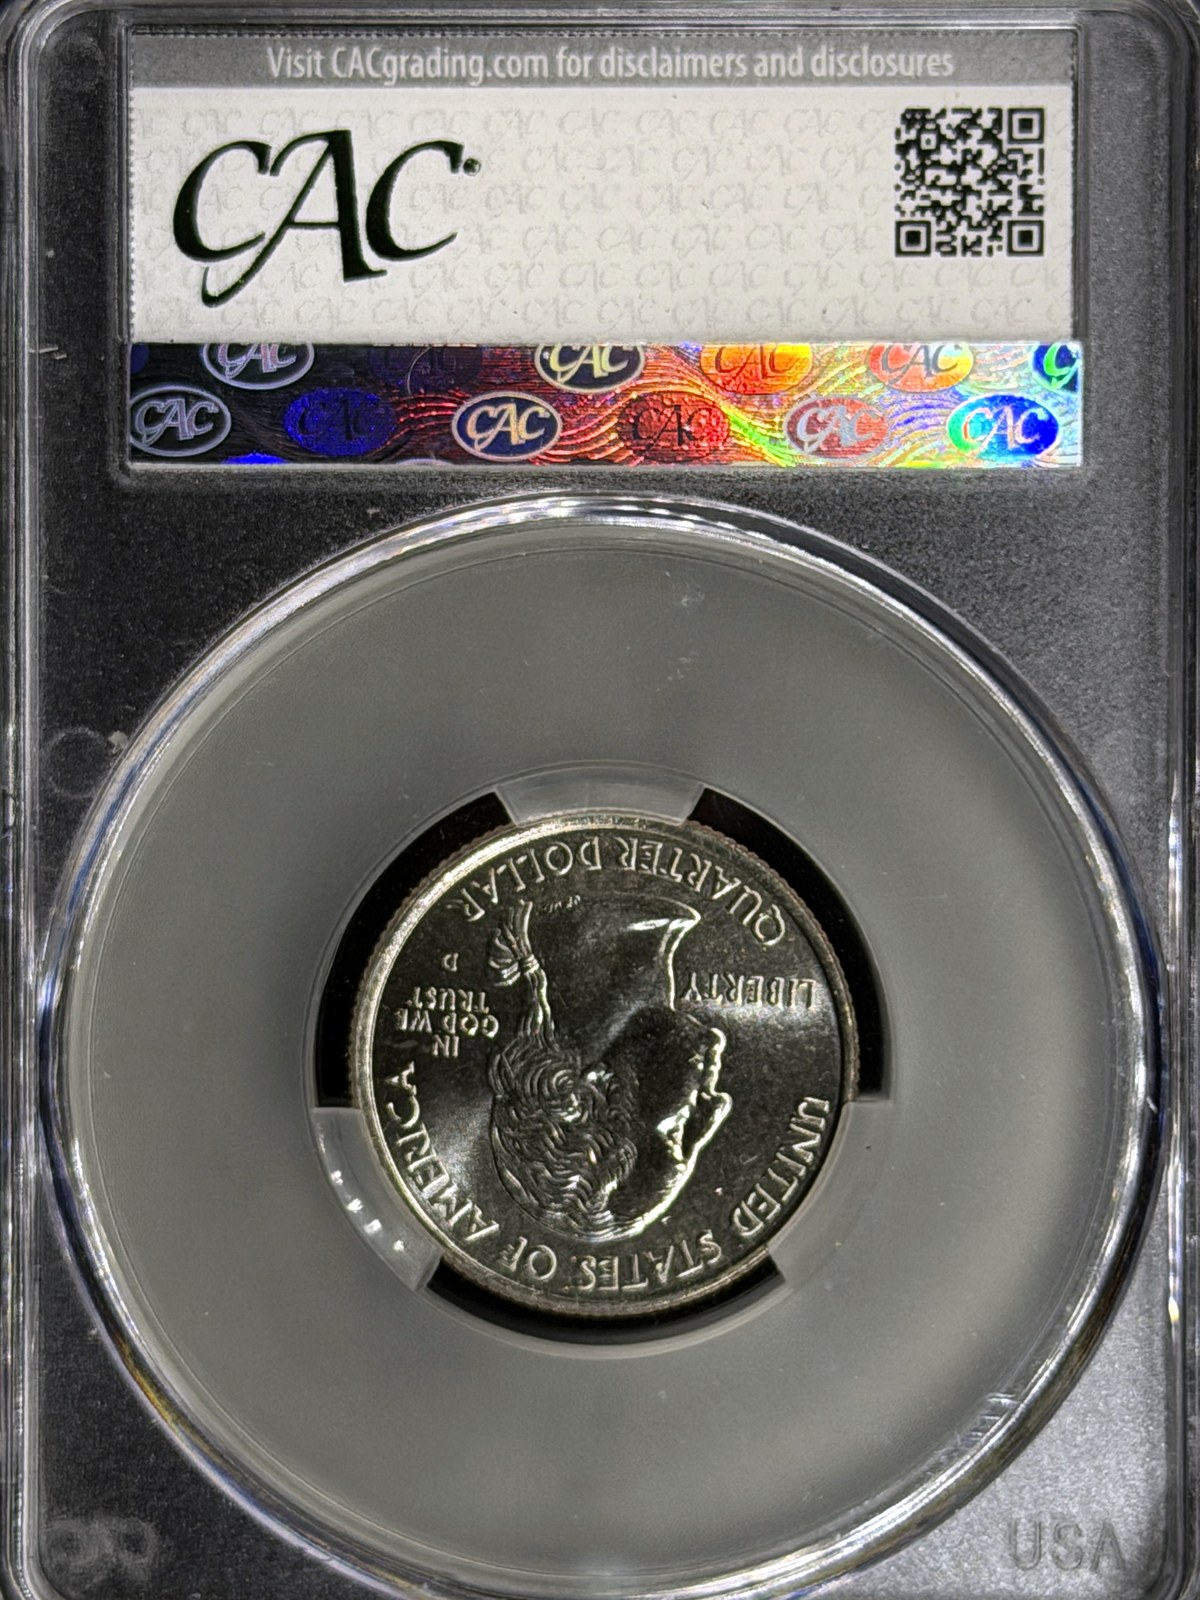
The two slabbed coins from the stream: the 1787 Connecticut copper in its PCGS Genuine holder, and a brand-new American Women quarter in a CAC holder, seen through the back of the holder with the obverse showing.
This demo is for the dealers, pawn shops and collectors we meet at coin shows who want to post more coins online without more work. Every photo in the stream is a single iPhone exposure with zero editing.
Key Takeaways
- A slab works like a two-way mirror. With a dark coin inside, axial light mostly lights up the plastic, because the brightest reflection wins.
- For dark copper in a slab, use a dim tone light for accurate patina plus one side of the Open Cylindrical™ halo.
- For a shiny coin, slide the tone light to move the cartwheel, then add a touch of axial light to lower the contrast.
- Lock exposure and focus first: press and hold for AE/AF lock on an iPhone (Android works the same way).
- Keep the lid on and you can shoot in any room, with no need to dim the lights.
Watch the Live Demo
The full replay (35:41) has chapters: the copper starts at 6:51, the quarter at 17:03 and a raw Halumin coin at 25:40.
Why Coins in Slabs Are So Hard to Photograph
A slab behaves like a two-way mirror: whatever reflects the most light wins. A proof is a true mirror, so it bounces the axial light back before the acrylic on top can show much glare. A dark, worn copper reflects almost nothing, so it may as well be black back there, and the plastic becomes the brightest thing in the frame. That’s why axial light adds little for dark coins in slabs. Fine abrasions on the holder make it worse, because they catch the light much like a cartwheel does on a coin.
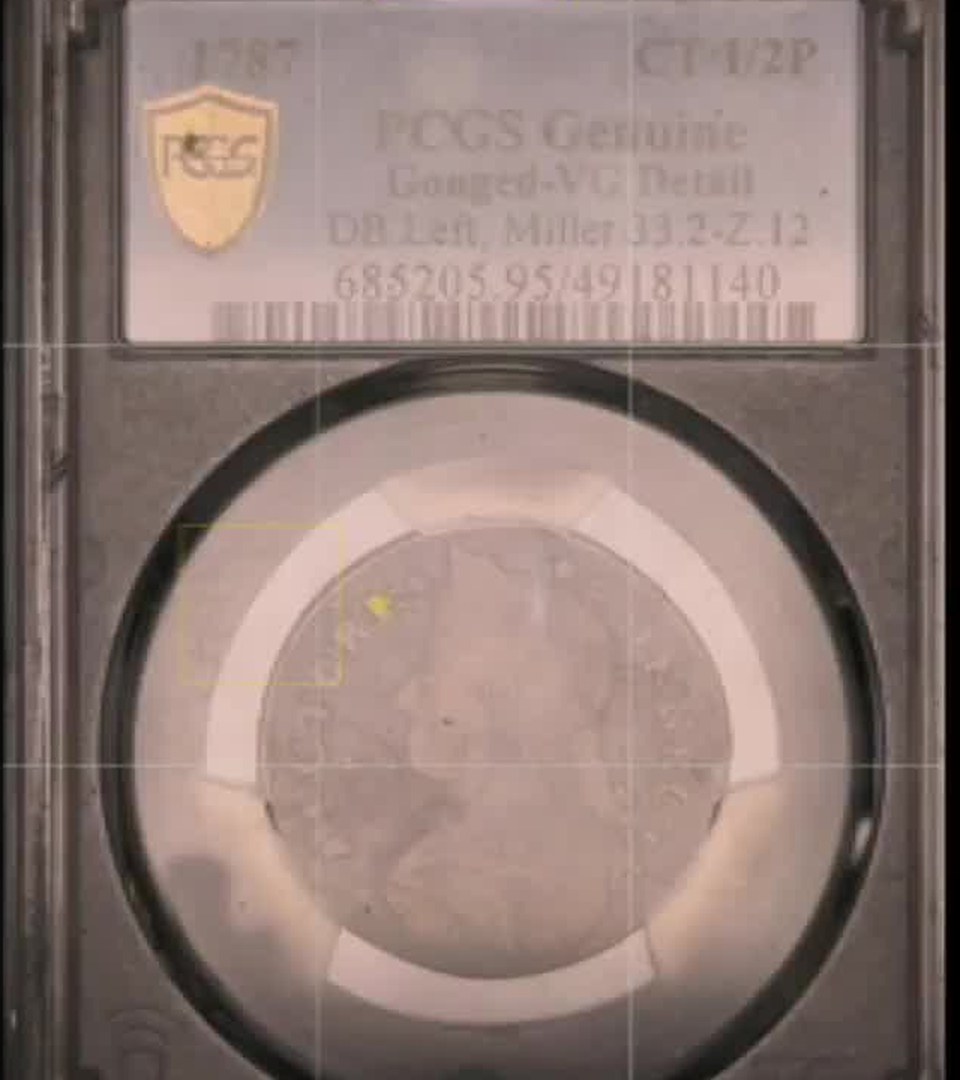
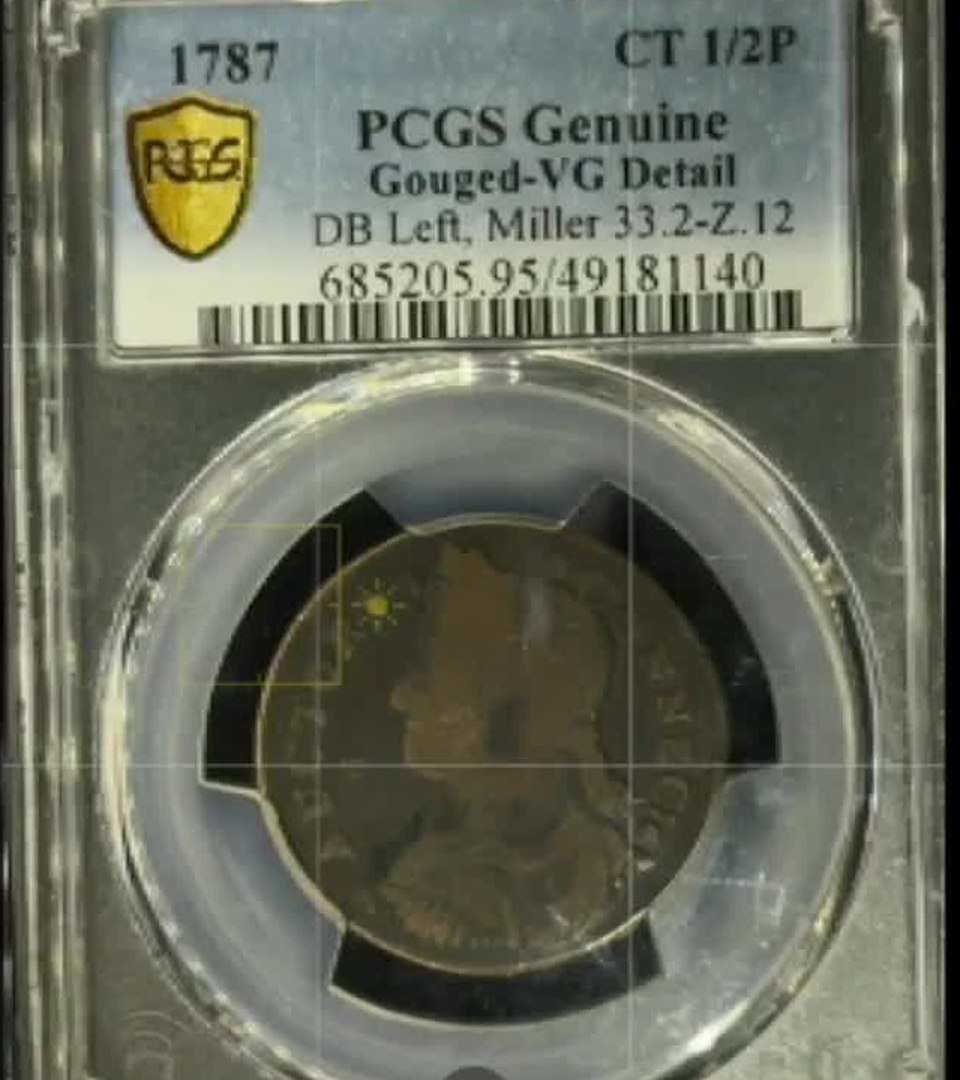
Same coin, same iPhone framing, a few minutes apart in the stream: axial light only (left) and the tone light plus one side of the halo (right). Frames from the live stream; the grid and yellow focus box are the iPhone camera screen.
If you’d rather see the problem than read about it, this 44-second short shows the white blotch and the reflection of your phone that slab glare leaves over a coin’s face.
Update: the Halumin-C Kickstarter was successful, and units can now be pre-ordered in the Halumin Store.
How to Photograph Coins in Slabs, Step by Step
- Put the lid on. With the lid on you get great images in any room, without dimming the lights.
- Load the slab. Swap the turntable for the slab holder accessory and set the holder in with the coin toward the controls side, where the light works best (even if that turns the coin upside down). Close the top and level the halo.
- Frame and focus. Set your zoom and bring the lights up evenly, just bright enough for the phone to focus.
- Lock it. Press and hold on the coin to lock exposure and focus (AE/AF lock on an iPhone; Android is similar).
- Start with the halo. Turn on the halo alone, rock it back and forth, and watch how the relief changes.
- Add the tone light. Slide it until the highlight lands where you want it.
- Go easy on axial light. Use very little on dark coins in slabs, and a touch on shiny coins to lower the contrast.
- Check and post. Look at the photo on your phone right away and post it. No editing needed.
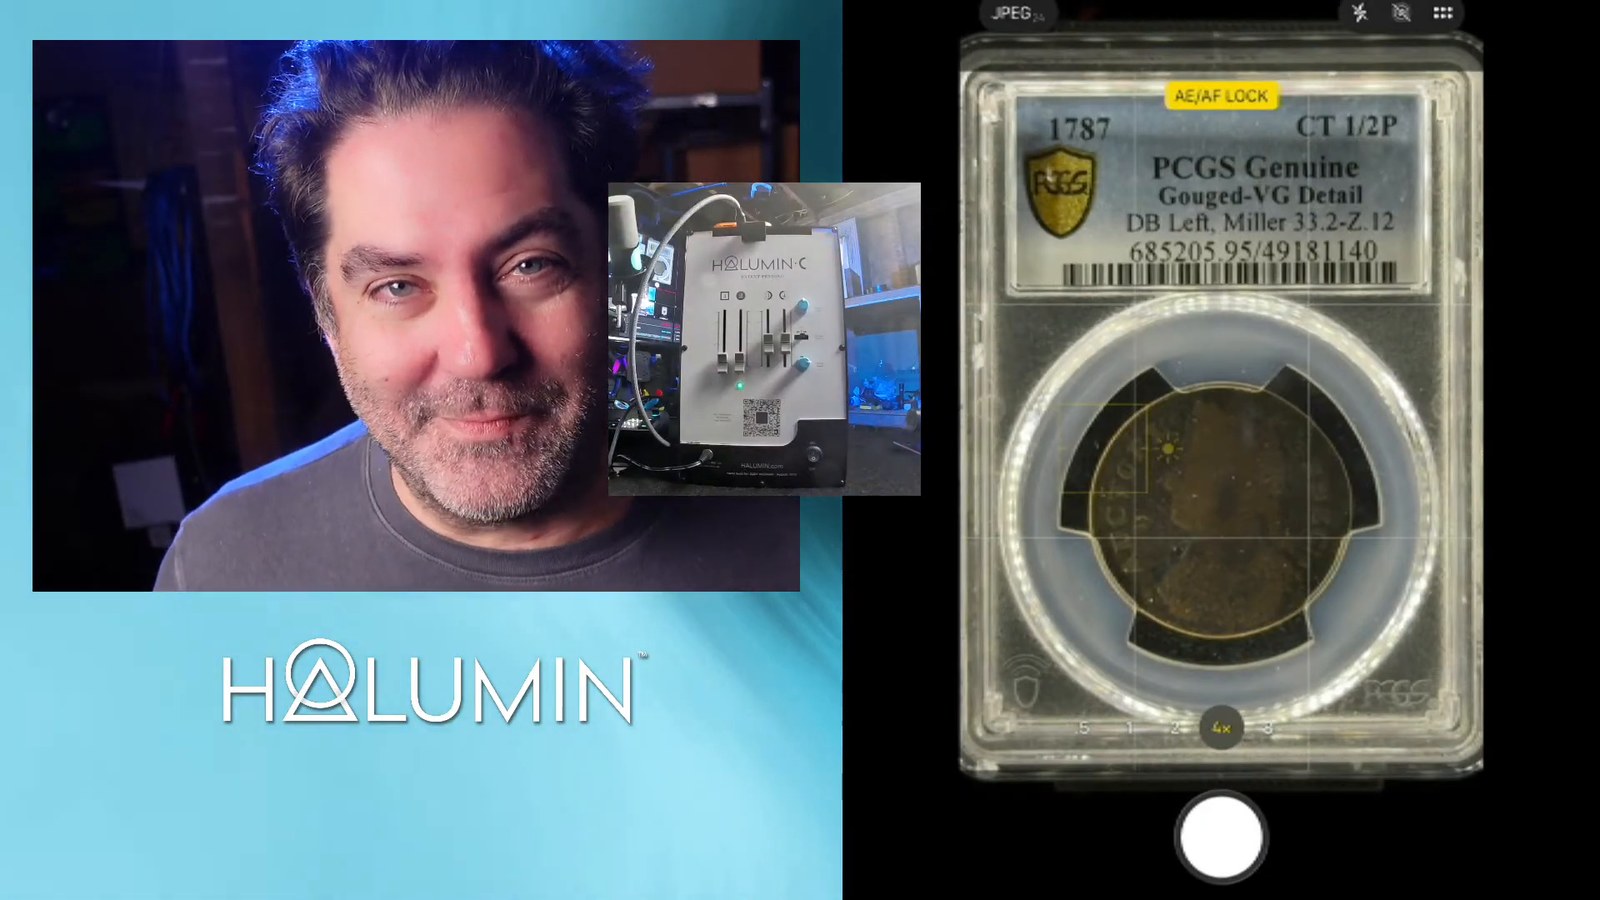
Technique: What Each Light Does
The Open Cylindrical™ halo (sliders 3–4). It wraps around the coin, so it adds depth without hard shadows. On low power, rocked back and forth, it’s inspection mode: abrasions, errors and surface condition jump out as the angle changes. Turn off one side for a more natural, directional light with more contrast. Raise the halo for more front light; lower it for a moodier look. I like a little “fake portrait light” on the face, but plenty of collectors disagree, so do what matters to you.
The tone light (slider 2). A focused point light that almost bounces back into the lens, so it shows the surface patina; the opalescence on toned coins reacts to a hard point light like this, hence the name. On the fresh quarter, sliding it moved the cartwheel gleam until it sat right on LIBERTY and the portrait.
The axial light (slider 1). A controlled glare straight back into the camera. It lights everything evenly but softens texture and hides a lot of blemishes. A little of it on a shiny coin lowers the contrast. The mirror also shows every speck of dust, so I keep an air blower on the bench to blow it off before I shoot; in my shop it’s dusty again an hour later.
As an Amazon Associate I earn from qualifying purchases.
The mix. On the raw Halumin coin I finished with the halo for texture, the tone light for the front with a gentle hot spot, and just enough axial light to open up the shadows: to me, an accurate and beautiful depiction of the coin. If you sell coins and a glowing look could mislead a buyer, turn off whatever bothers you; axial light alone, or the tone light alone, are good looks too.
Slabbed Proof Coins: Two Mirrors at Once
Proofs are the opposite problem to the dark copper above, so in this step-by-step tutorial I photograph a slabbed proof and use the axial light to choose between a dark or milky field, then bring out the portrait with the tone light.
Update: the Halumin-C Kickstarter was successful, and units can now be pre-ordered in the Halumin Store.
Raw Coins: The Pedestal and the Sun Face
For a coin that isn’t in a slab, like the solid nickel Halumin coin, use the coin pedestal. Spin it to raise the coin until it sits just below the bottom of the halo, where you have the most control over the light. Lock exposure, then bring it down until the black background flattens out (a cleaner surface behind the coin is being refined for the production model). With the halo alone, rocking it completely changes the character of the sun face, right down to my initials.
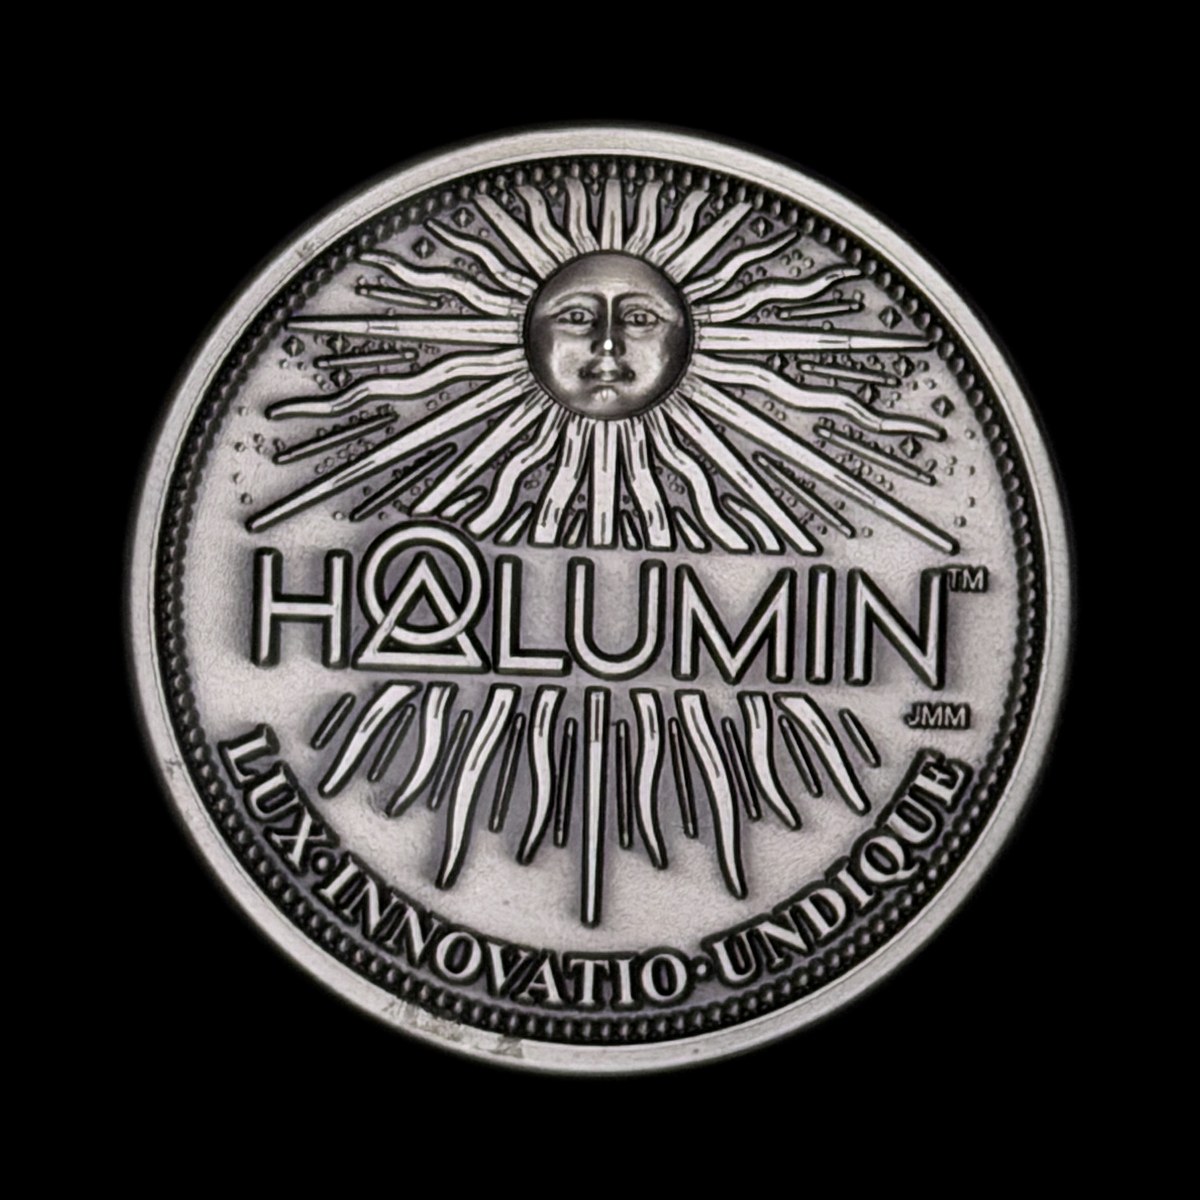

The sun face of the solid nickel Halumin coin under two different Halumin-C light mixes, photographed with an iPhone.
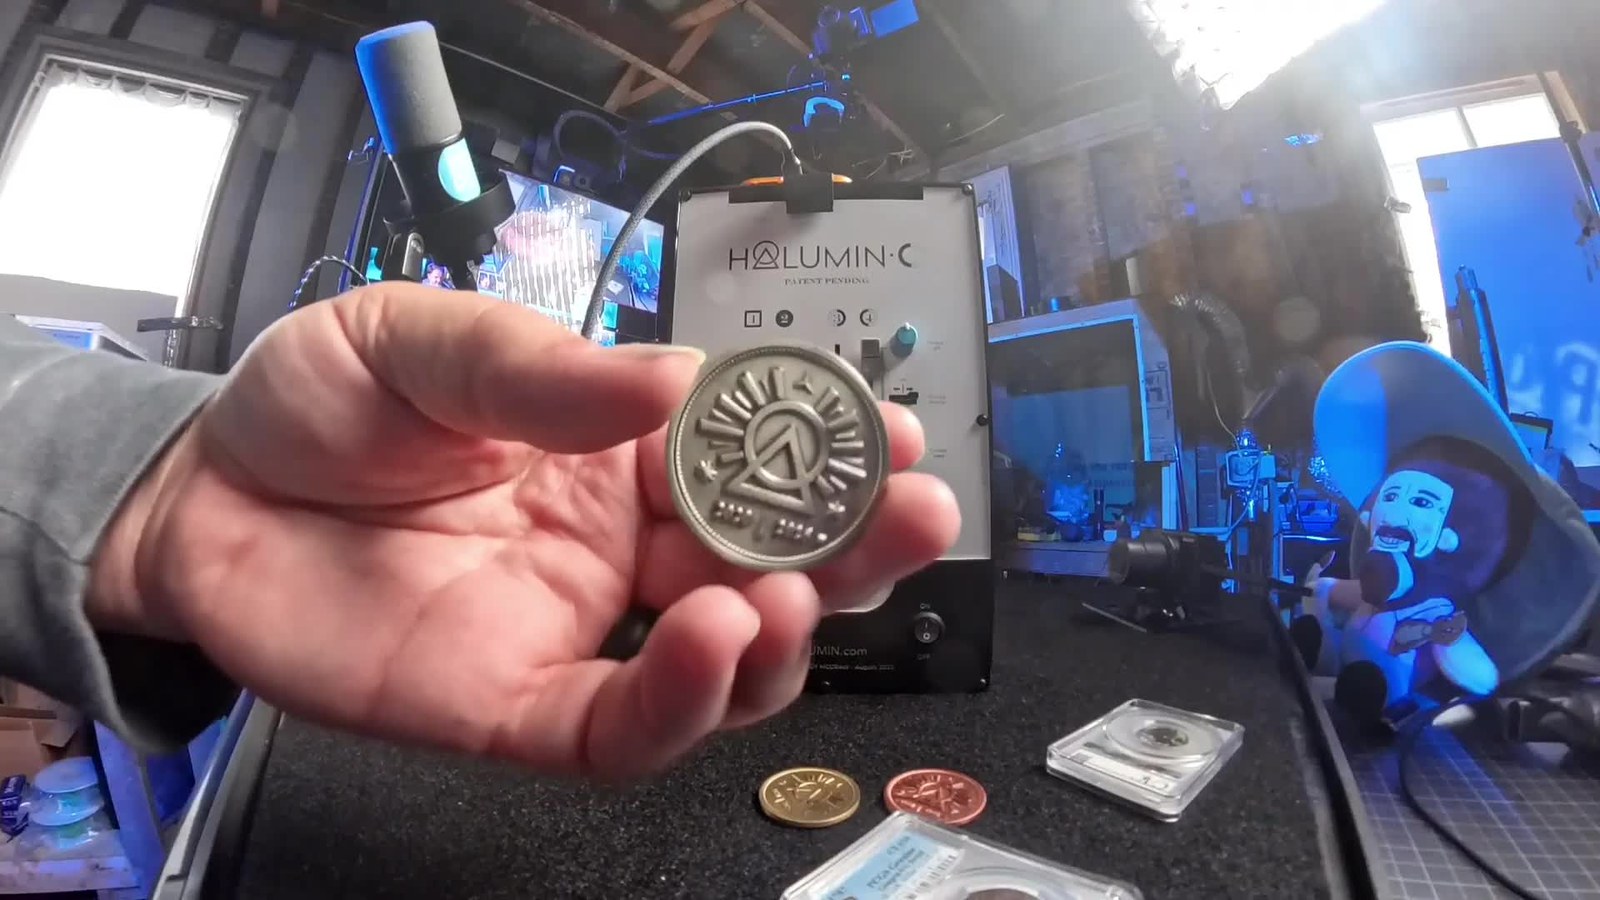
Tip: Lock Exposure Before You Touch the Lights
I broke my own number one rule live. Without the AE/AF lock, the phone saw a dark frame and brightened it, and it picked up an orange blob: my phone reflecting stray light from outside the box. The whole purpose of the lid is to block that light. Lock exposure and focus first, and the frame goes to black and stays there while you build the light.
The Coin in the Slab: A 1787 Connecticut Copper
Connecticut didn’t wait for a national mint. On October 20, 1785, the General Assembly let a group of petitioners strike copper coins to the standard of British halfpennies, with a man’s head and AUCTORI: CONNEC: (“by the authority of Connecticut”) on one side and Liberty holding an olive branch on the other, as Q. David Bowers’ history of the Garrett Collection for PCGS tells it. The mint was in New Haven, and the man who mattered most was Abel Buell, the silversmith and diemaker who was the only partner working in the business day to day. Around June 1, 1787, the original Company for Coining Coppers was reorganized as James Jarvis and Company, which went on to strike Fugio cents, as the University of Notre Dame’s colonial coin collection explains.
Connecticut’s coiners cut a great many dies, and every pairing makes a slightly different coin; PCGS lists well over a hundred Draped Bust Left die varieties for 1787 alone. In 1920 Henry C. Miller sorted them out in The State Coinage of Connecticut, published by the American Numismatic Society, giving each obverse die a number and decimal and each reverse die a letter code. So Miller 33.2-Z.12 is obverse 33.2 paired with reverse Z.12, a draped bust facing left, listed on PCGS CoinFacts as PCGS #685205. Obverse 33 belongs to the small-letter coppers credited to Jarvis and Company, and it’s the most abundant type in that group, with 48 different varieties, according to Notre Dame. The label on this one reads Genuine, Gouged-VG Detail: PCGS confirmed it’s authentic but gave it a Details grade instead of a number, because of a gouge, and its wear matches a coin in Very Good. Two hundred thirty-nine years of pockets have worn it nearly smooth, which is exactly what makes it such a good test.
The quarter is a newer story: it’s an American Women quarter. Through the back of its CAC Grading holder you can see the obverse, Laura Gardin Fraser’s right-facing George Washington, designed for a 1931 competition but passed over until 2022, when it became the common obverse of the American Women Quarters, according to the U.S. Mint. The reverse, which carries each coin’s honoree, faces the other side of the holder, so it isn’t shown here.
How Halumin-C Makes Coin Photography Simple
Halumin-C makes coin photography simple with the camera or phone you already own, and it’s just as good with watches, die-cast cars and small collectibles, even bullets and Civil War finds (for larger subjects like products, food and museum artifacts, there’s the Halumin H18). It combines three lighting tools: slider 1 is the axial light; slider 2 is the tone light, a sliding focused spotlight that brings out toning and cartwheel luster; and sliders 3–4 control the Open Cylindrical™ halo for texture and depth. With the lid on, you get great images in any room, with no need to dim the lights. Take the lid off for video or quick swaps, and dimming the room helps. The halo on my prototype sticks a little; that’s being fixed for the production version.
Pre-Order Halumin-C
Pre-orders lock in a $429 discounted pre-order price, and shipping is anticipated in Q1 of 2027.
Frequently Asked Questions
How Do You Photograph a Coin in a Slab Without Glare?
Keep the axial light low, light the coin from an angle with one side of the Open Cylindrical™ halo, and add a dim tone light for the surface. Lock exposure and focus on your phone first, and keep the lid on to block room light.
Can I Photograph Slabbed Coins with an iPhone?
Yes. Every shot in the stream is a single iPhone exposure with no editing. Set your zoom, press and hold to lock exposure and focus, then build the light. Android phones work the same way.
Can a Glowing Coin Photo Mislead Buyers?
It can if the look doesn’t match the coin in hand. If you’re selling, choose the look that matches what the buyer will see, such as the axial light alone or the tone light alone.
What Does “Genuine, Gouged-VG Detail” Mean on a PCGS Label?
PCGS confirmed the coin is authentic but didn’t give it a numeric grade because of a problem, here a gouge. “VG Detail” means its wear matches a coin in Very Good condition.
When Does the Halumin-C Ship and How Do I Pre-Order?
Summary: Three Lights, One Phone, No Editing
A dark copper, a shiny quarter and a raw coin each needed a different mix, and none needed editing. For more, see How to Photograph Coins with an iPhone, How to Photograph Toned Coins and How to Use Your Halumin C.
See Halumin in person: catch our live lighting device demos at an upcoming coin show or event.